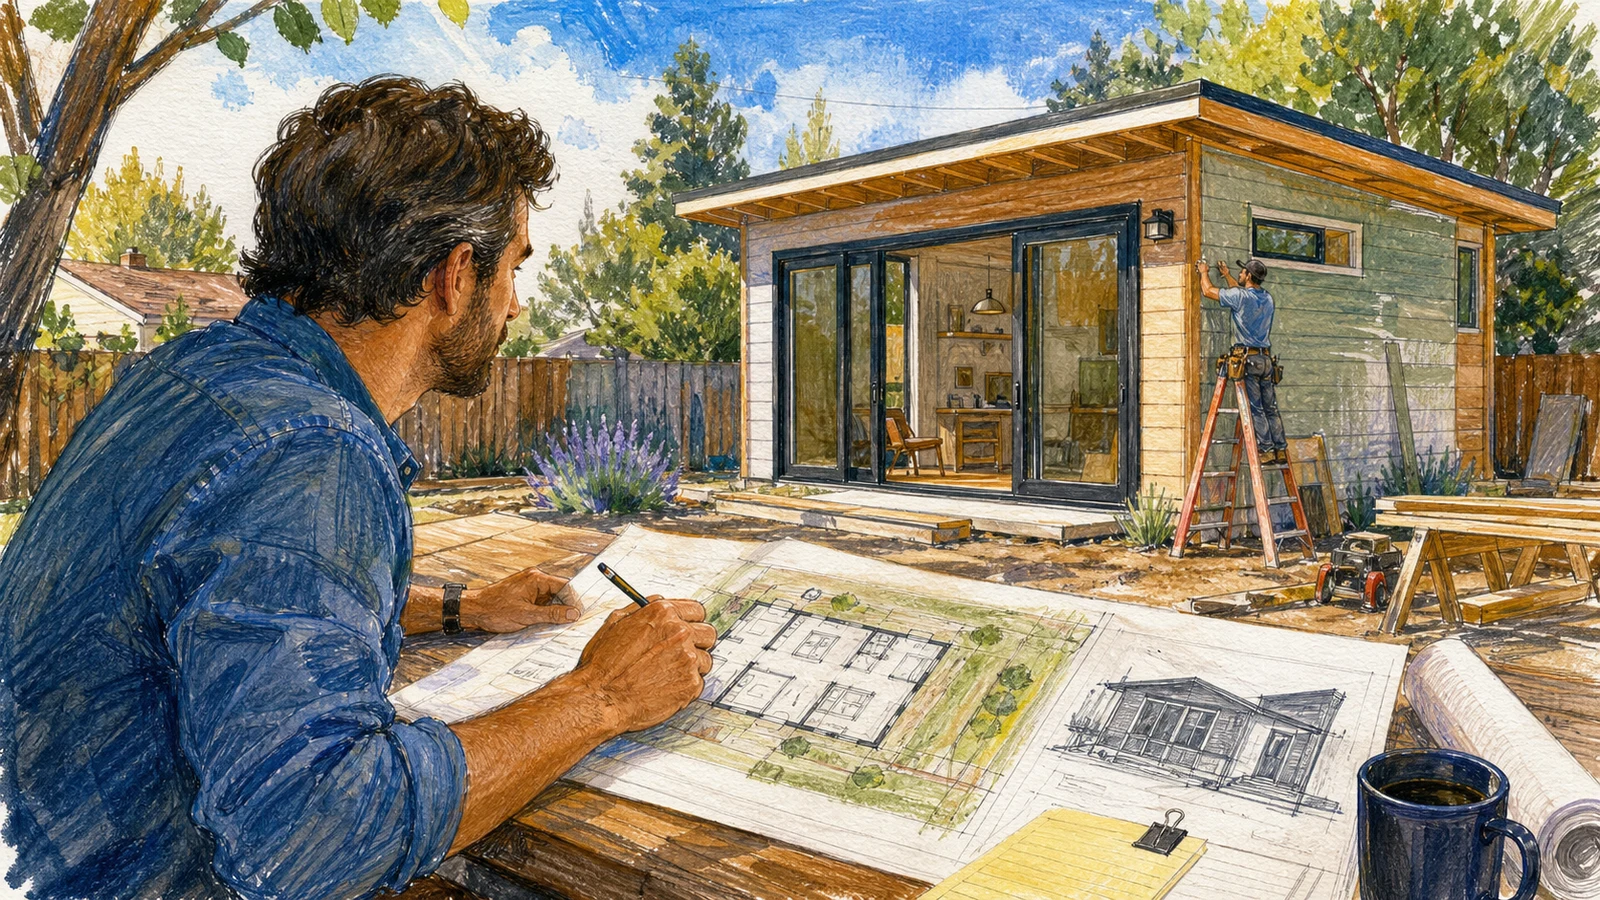
Build a garage home gym that holds up
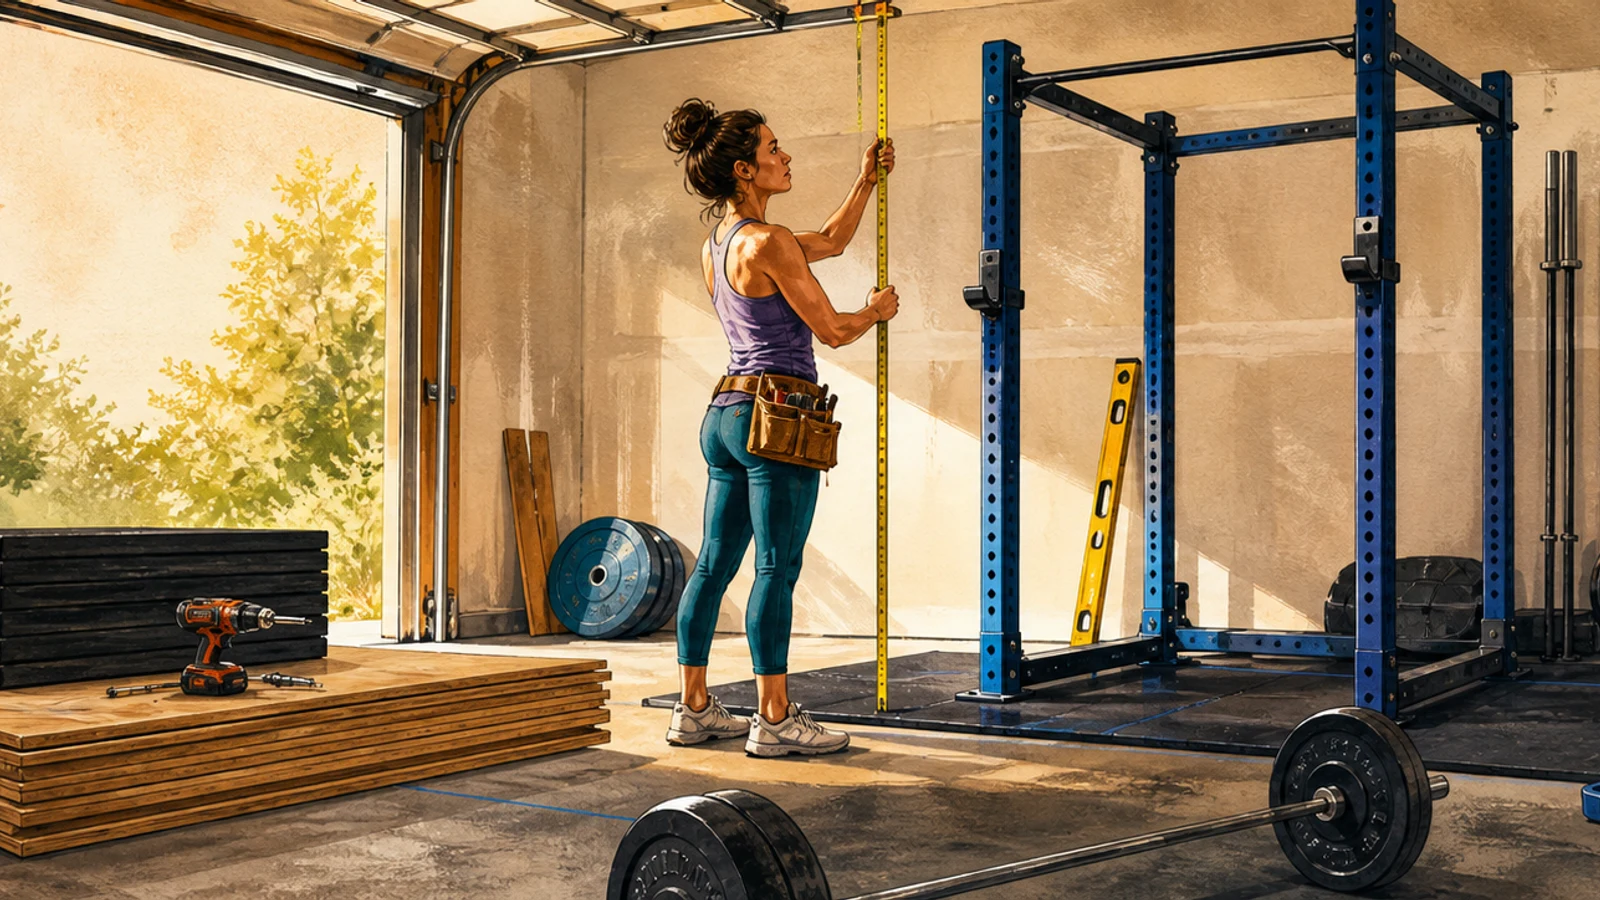
A usable garage gym built from an empty space: ceiling height measured and cleared for overhead press, a plywood-and-rubber flooring stack protecting the slab, a power rack properly assembled and anchored or verified free-standing, equipment bought in priority order starting with the barbell and plates, and a dedicated 20A circuit verified by an electrician before anything heavy is plugged in.
Free preview: 3 of 18 steps
Work through them in the real run view, exactly as a buyer does. No account, no payment, nothing saved.
3 free unlocks per month — yours to keep forever
No account needed — nothing is saved.
Included with every copy
- Your own copy — keep it forever
- Gets better over time — free updates included
- Run it on web and mobile
- Invite a partner to go through it with you — you share the same progress
- Make it your own — a private copy you can edit to fit your situation
- The playbook's community — ask questions, get additions, and see how other buyers improve it, right on the step
Who it's for
Lifters and home-gym builders in the U.S. who own (or have landlord permission to modify) a garage, basement, or outbuilding with a concrete slab floor. This applies whether the space is completely empty or already holds scattered equipment. If you rent and cannot drill into concrete or modify the electrical panel, the anchoring and circuit steps will not apply.
About this playbook
You pay for a gym membership month after month, or you own equipment that lives in a corner of the garage without a proper home. This guide takes you from empty concrete slab to a training space that will not damage your bar, your floor, or your safety—in one organized sequence. You start by measuring the dimension that makes or breaks a home gym—overhead press clearance—and verifying your electrical panel has room for a dedicated circuit. You build a flooring stack of plywood and rubber stall mats that absorbs deadlifts and protects the concrete. You buy equipment in the order that delivers the most training value per dollar. This is not a luxury studio build; it covers the structural, electrical, and equipment decisions that make a garage gym durable and safe.
What you'll do, step by stepFree preview
Only a sample is open: 3 of 18 steps can be read in full. The rest unlock when you buy.
Phase 1: Measure and plan the space
4 stepsPhase 2: Prepare the garage shell
3 stepsPhase 3: Build the lifting platform and flooring
3 stepsPhase 4: Set up the rack and electrical
4 stepsPhase 5: Equip, organize, and test the gym
4 steps
Details
What you need first
A garage or basement with at least 90 inches (7′6″) of ceiling height at the lowest overhead obstruction. A concrete slab that is reasonably level and free of major cracks. Access to the main electrical panel with at least one available breaker slot. Basic tools: tape measure, level, drill with masonry bits, socket set, utility knife, shop vacuum, chalk line. Ability to lift and maneuver 50–80 lb sheets of plywood and rubber stall mats.
Tags
Common questions
About the creator
Similar playbooks