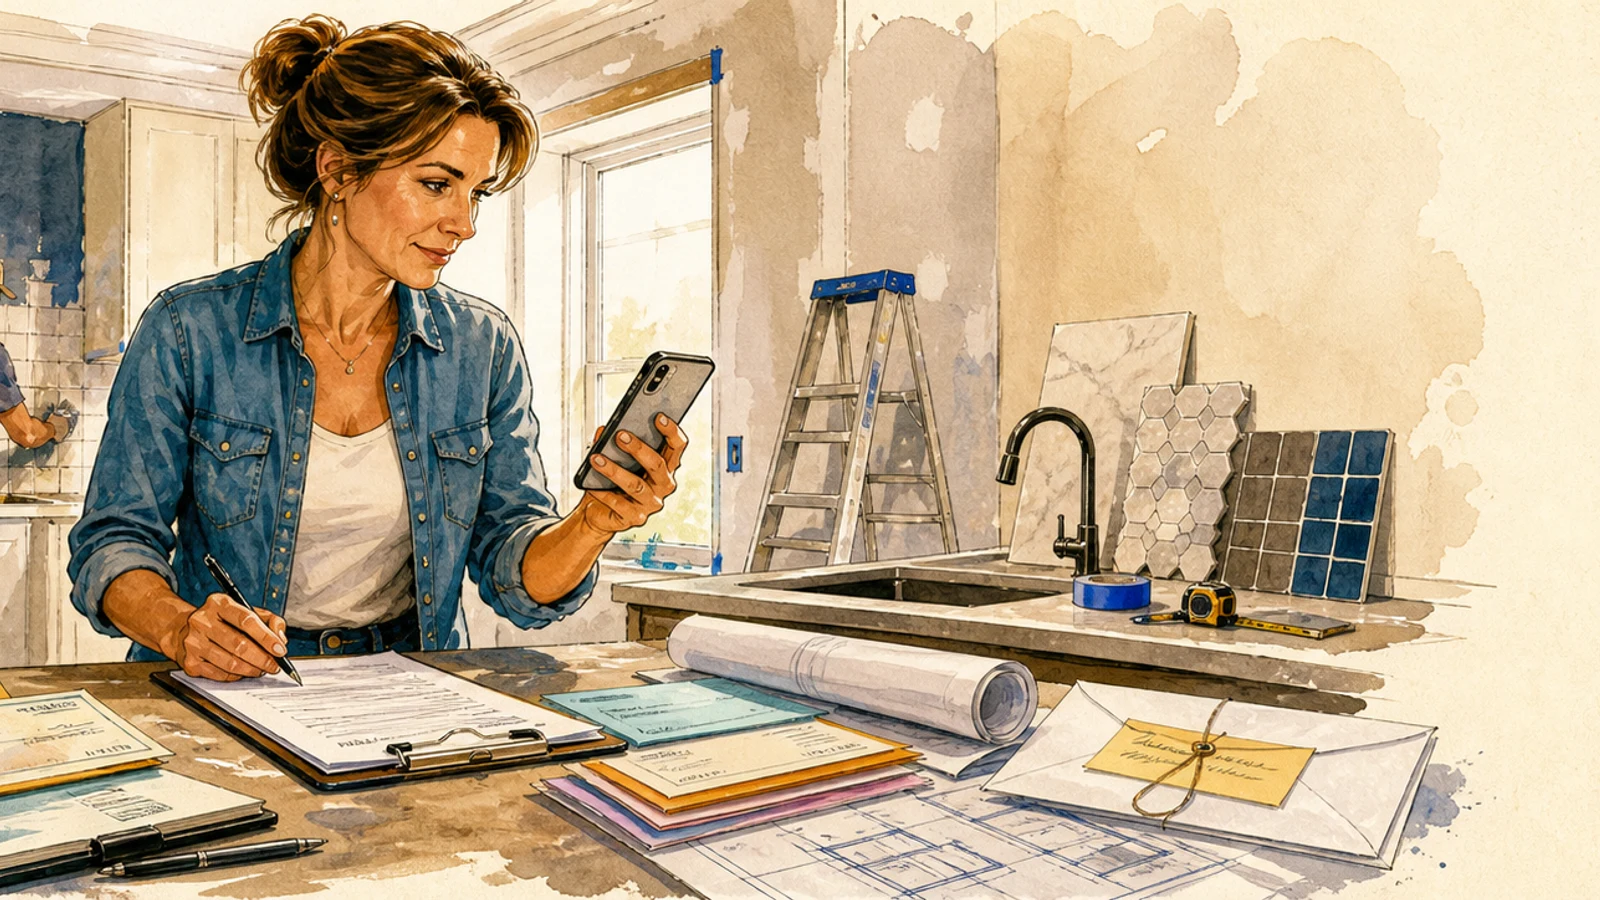
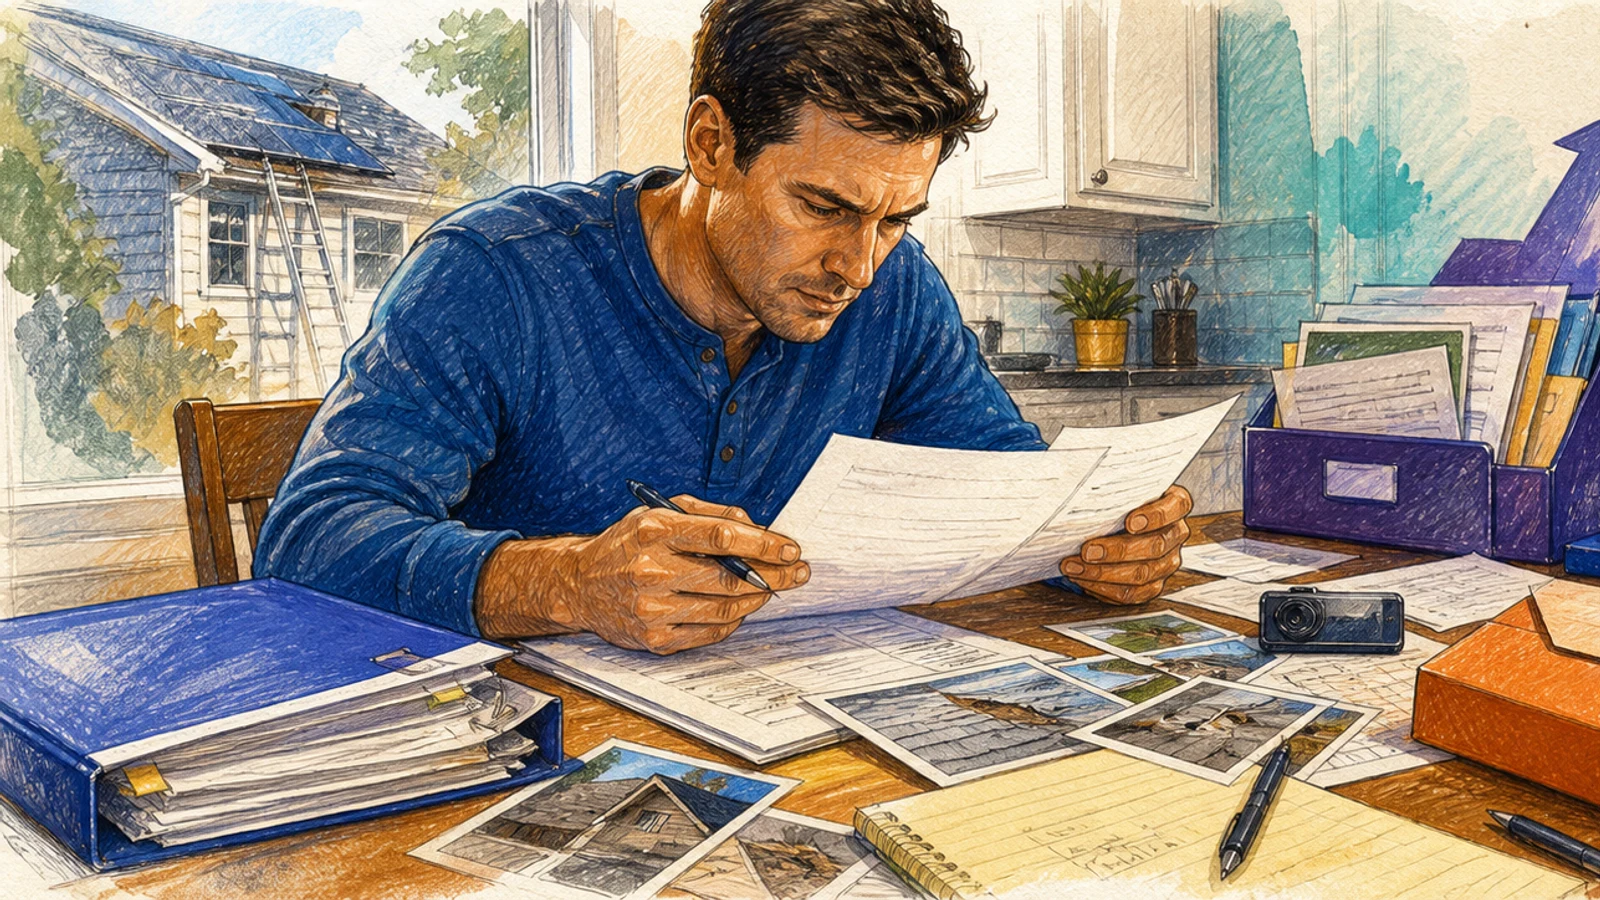
Replace a roof and settle the insurance scope properly
A roof replaced on a settled scope — damage documented before anyone climbs on it, the insurer’s scope of loss compared to a line-item contractor estimate, code-required upgrades and overlooked components added, a written contract signed with a real scope and payment schedule, and the final invoice reconciled against the settlement including depreciation recovery.

Free preview: 4 of 24 steps
Work through them in the real run view, exactly as a buyer does. No account, no payment, nothing saved.
3 free unlocks per month — yours to keep forever
No account needed — nothing is saved.
Included with every copy
- Your own copy — keep it forever
- Gets better over time — free updates included
- Run it on web and mobile
- Invite a partner to go through it with you — you share the same progress
- Make it your own — a private copy you can edit to fit your situation
- The playbook's community — ask questions, get additions, and see how other buyers improve it, right on the step
Who it's for
U.S. homeowners who need a roof replacement after hail, wind, or age-related damage, and who want to manage the insurance claim and contractor selection themselves rather than hand control to a public adjuster or a storm-chaser. Fits both insured homeowners filing a claim and those paying out-of-pocket who still want a structured scope and contract.
About this playbook
This guide walks you through replacing a residential roof after storm damage or age-related wear, whether or not you involve your insurance. You start by photographing and documenting every piece of damage before anyone steps on the roof — the single most important step for a successful claim. From there the path runs through filing the claim, vetting contractors for storm-chaser red flags, collecting line-item bids that match your insurer’s scope, requesting supplements for missing components, negotiating a contract that protects you, overseeing the installation with milestone payments tied to lien waivers, and finally reconciling the invoice to recover your depreciation holdback. You will learn to spot the assignment-of-benefits trap, deductible-waiving offers, and scope gaps that insurers routinely write. This playbook does not cover how to fight a denied claim (see the storm-damage claim dispute guide), how to choose shingle colors, or how to finance a roof replacement through a loan.
What you'll do, step by stepFree preview
Only a sample is open: 4 of 24 steps can be read in full. The rest unlock when you buy.
Phase 1: Document the damage before any work begins
4 stepsPhase 2: File the claim and get the insurer’s scope
4 stepsPhase 3: Vet contractors and collect line-item bids
4 stepsPhase 4: Settle the scope and sign the contract
4 stepsPhase 5: Oversee installation and issue milestone payments
4 stepsPhase 6: Close the claim and recover depreciation
4 steps
Details
What you need first
You own the property and your homeowners insurance policy is active (if filing a claim). You have a smartphone or camera for photo documentation. You can safely access the roof from ladder height or have someone who can. If the roof is unsafe to walk, you can still document from the ground with a zoom lens.