California Cripple Wall: Brace and Bolt Your House Before the Big One
A pre-1980 raised-foundation house whose mudsill is bolted to the foundation and whose cripple walls are sheathed to Chapter A3 standards, passed by the local building inspector, with the Earthquake Brace + Bolt grant collected and the whole retrofit documented for insurers and a future sale.
Free preview: 4 of 24 steps
Work through them in the real run view, exactly as a buyer does. No account, no payment, nothing saved.
3 free unlocks per month — yours to keep forever
No account needed — nothing is saved.
Included with every copy
- Your own copy — keep it forever
- Gets better over time — free updates included
- Run it on web and mobile
- Invite a partner to go through it with you — you share the same progress
- Make it your own — a private copy you can edit to fit your situation
- The playbook's community — ask questions, get additions, and see how other buyers improve it, right on the step
Who it's for
Owners of wood-frame California houses built before 1980 that sit on a raised foundation with a crawl space, especially in the 1,100-plus ZIP codes the Earthquake Brace + Bolt program covers. It fits readers who will either supervise a directory contractor or take the owner-builder route, and who can front the cost until reimbursement arrives. It does not fit slab-on-grade homes, soft-story apartment buildings, or anyone needing an engineered hillside retrofit.
About this playbook
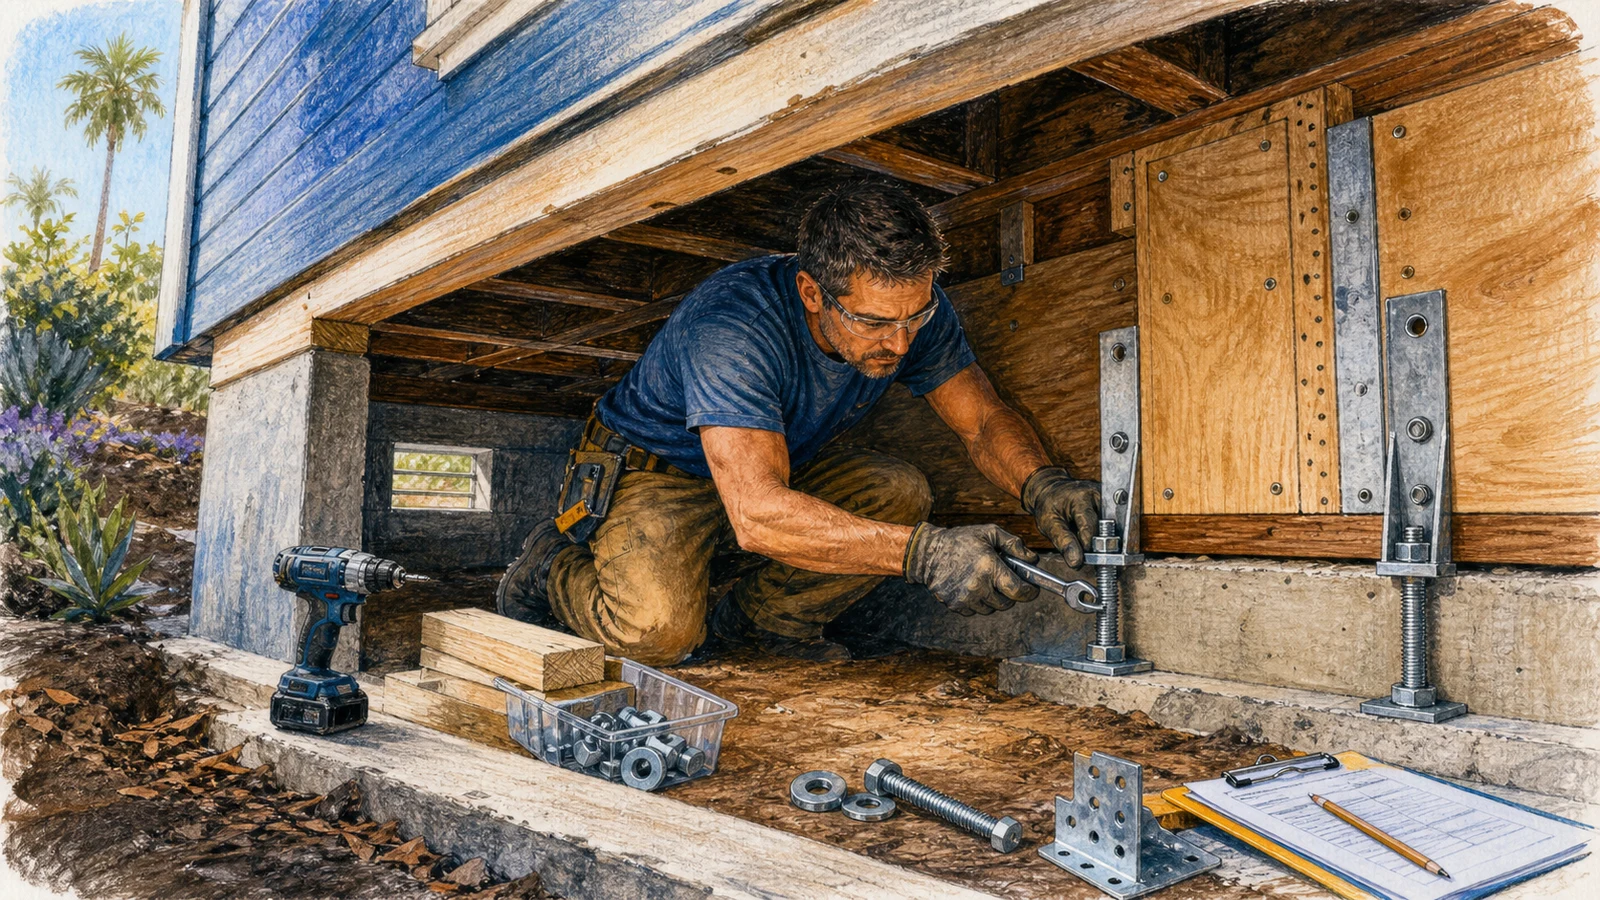
This guide walks a California owner of a pre-1980 raised-foundation house through a complete Earthquake Brace + Bolt retrofit: verifying the house qualifies, registering inside the program’s short annual window, hiring from its contractor directory or building it as an owner-builder, passing the city inspection, and collecting up to $3,000 — up to $10,000 for income-eligible households. The physical work is modest: anchor bolts tying the wood frame to the foundation, plywood bracing on short cripple walls, and straps on the water heater, typically costing $3,000–$9,000 before grants. Every stage ends with a checkable artifact, from crawlspace photo sets to the finaled permit and the reimbursed invoice. It does not cover soft-story buildings, hillside foundations, or engineered designs beyond the prescriptive Chapter A3 path, and it treats earthquake insurance as a separate decision priced at the end.
What you'll do, step by stepFree preview
Only a sample is open: 4 of 24 steps can be read in full. The rest unlock when you buy.
Phase 1: Confirm what is under the house
6 stepsPhase 2: Secure the grant and the crew
6 stepsPhase 3: Bolt and brace the crawl space
5 stepsPhase 4: Pass inspection and collect the money
3 stepsPhase 5: Close the file and decide on insurance
4 steps
Details
What you need first
Legal ownership of the home (owner-occupied for the standard grant; some cycles open limited windows for rentals), an accessible crawl space or another way to reach the mudsill, a few thousand dollars available upfront because the grant reimburses only after completion, and the ability to obtain a building permit from the local building department.
Tags
Common questions
About the creator
Similar playbooks