Grow a Native Pollinator Garden by ZIP Code in Eight Weeks
A small garden is planted with locally appropriate host and nectar species, blooms are staggered across seasons, pesticide risks are removed, and weekly pollinator observations are logged.
Free preview: 4 of 24 steps
Work through them in the real run view, exactly as a buyer does. No account, no payment, nothing saved.
3 free unlocks per month — yours to keep forever
No account needed — nothing is saved.
Included with every copy
- Your own copy — keep it forever
- Gets better over time — free updates included
- Run it on web and mobile
- Invite a partner to go through it with you — you share the same progress
- Make it your own — a private copy you can edit to fit your situation
- 6 knowledge checks to test what you've learned
- The playbook's community — ask questions, get additions, and see how other buyers improve it, right on the step
Who it's for
U.S. beginners with a balcony, patio, or yard who want plants matched to their local ecology. No gardening experience is needed, but you need a spot that gets 4–6 hours of sun and about an hour of hands-on time most weeks.
About this playbook
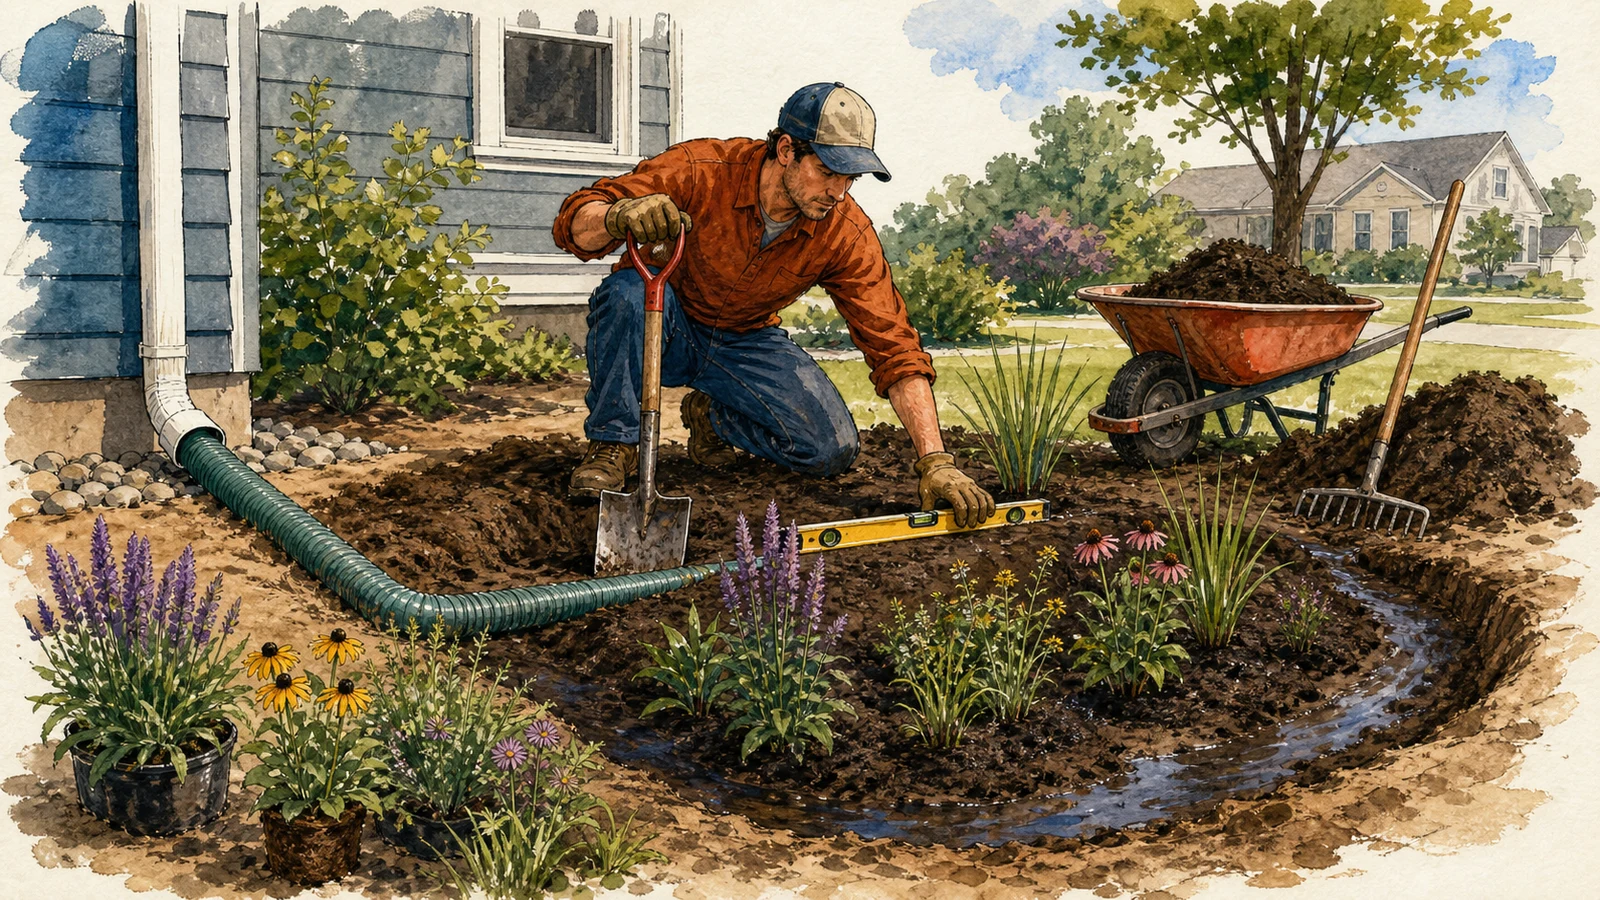
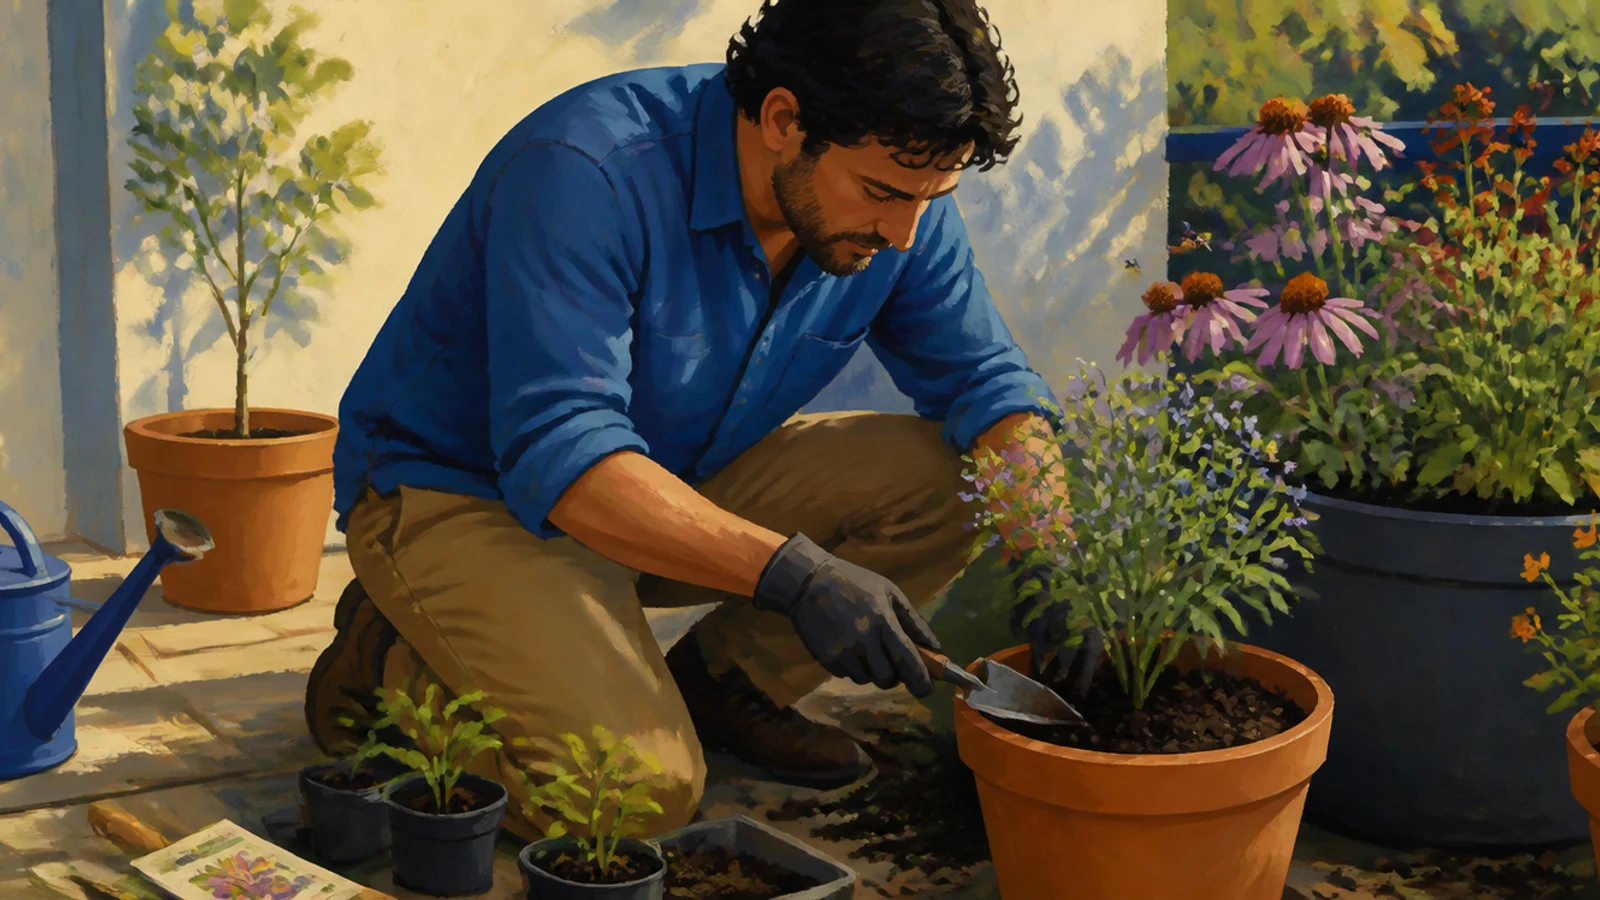
In eight weeks you turn a balcony, patio, or yard patch into a small garden that feeds the pollinators native to your own ZIP code. You start by recording a 15-minute baseline count of the insects already visiting, then research your local ecoregion, pick 5–8 host and nectar species with staggered bloom times, and plant them in containers or a bed you prepared. From week 4 on, the program runs on a fixed cadence: two short care sessions and one logged pollinator observation per week, with a clear rule for what to do when a plant dies or a session slips. In week 8 you repeat the same count and compare it to your baseline, so progress is measurable rather than felt. The guide covers planning, planting, watering, and no-pesticide pest responses; it does not cover lawn conversion, large-scale landscaping, or attracting every species — the goal is a working, observable habitat in one season.
What you'll do, step by stepFree preview
Only a sample is open: 4 of 24 steps can be read in full. The rest unlock when you buy.
Phase 1: Week 1 — Baseline and Local Research
5 stepsPhase 2: Week 2 — Prepare the Site
5 stepsPhase 3: Week 3 — Plant and Start the Care Routine
4 stepsPhase 4: Weeks 4–7 — Establish and Observe
5 stepsPhase 5: Week 8 — Measure and Extend
5 steps
Details
What you need first
A planting spot (container or ground) that gets 4–6 hours of sun, access to water, and permission to plant if you rent or live under an HOA. No prior gardening experience or special tools required.
Tags
Common questions
About the creator
Similar playbooks