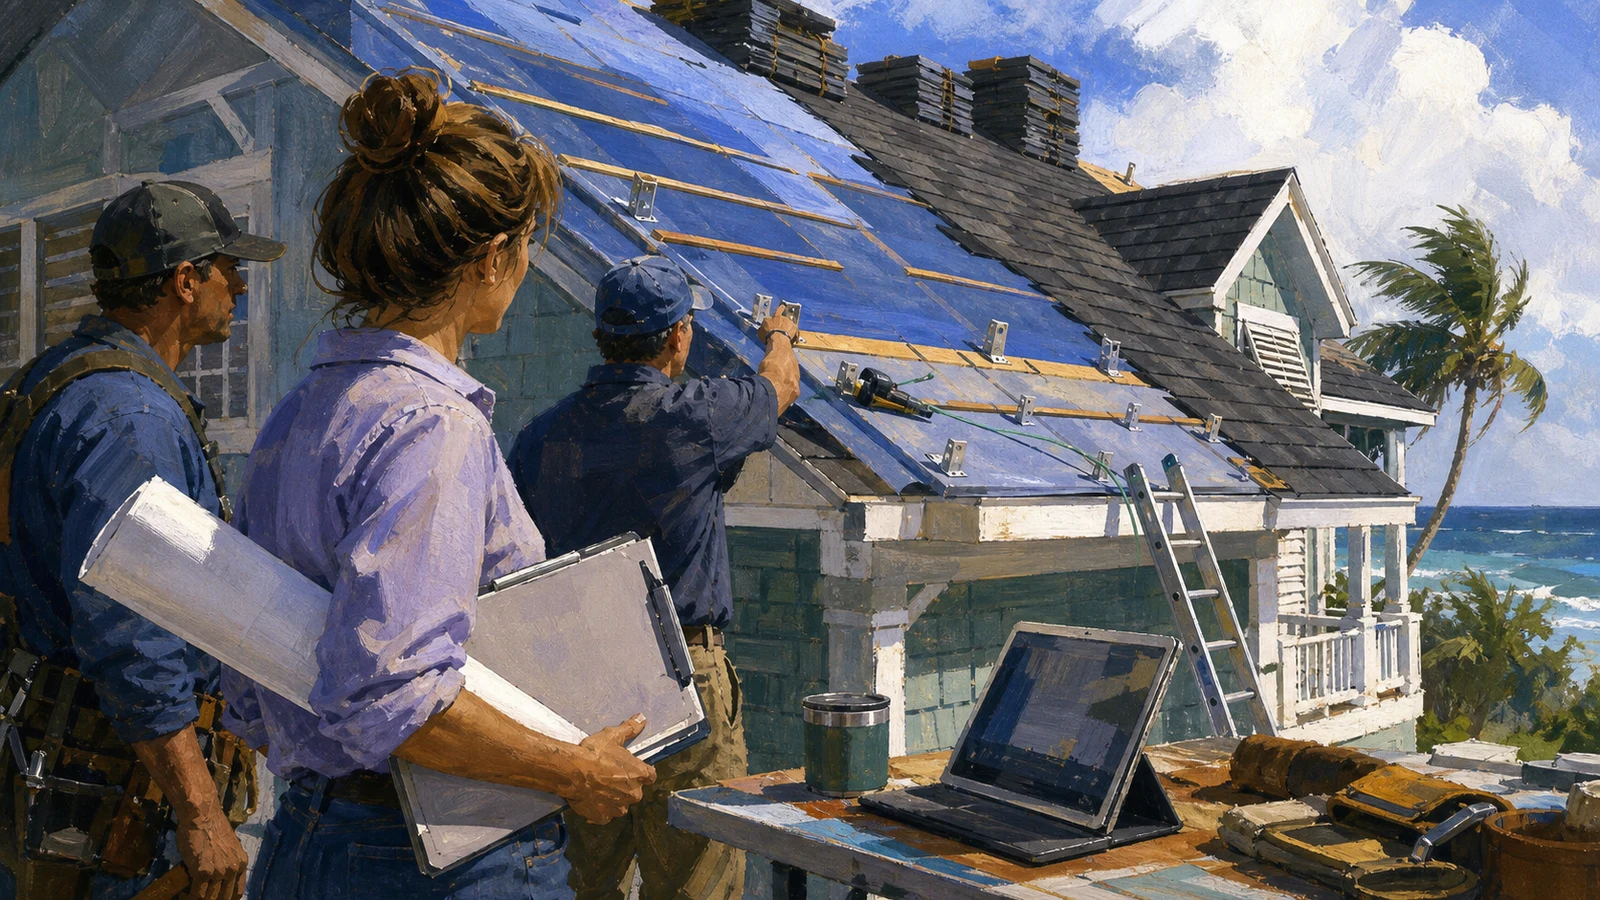
Harden your home against wildfire or hurricane season
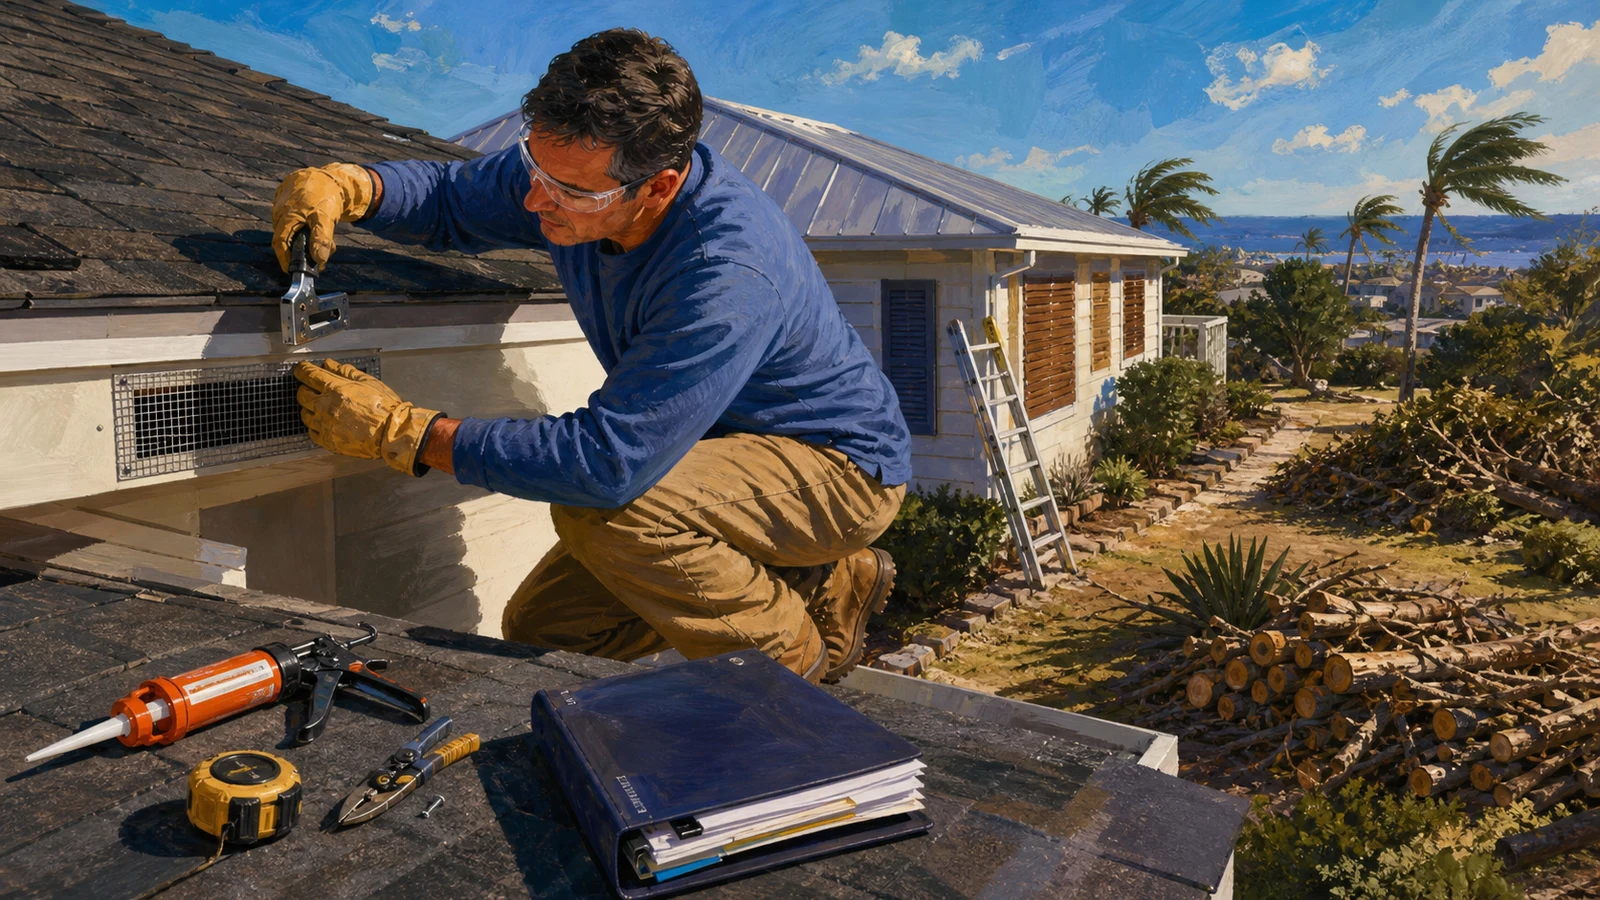
A home measurably hardened and documented — the ignition zone or wind-exposure risk assessed against the recognised standard, vents, roof edges, and openings retrofitted, defensible space cleared, the work photographed and receipted for the insurer, and an emergency document and evacuation binder assembled.
Free preview: 4 of 23 steps
Work through them in the real run view, exactly as a buyer does. No account, no payment, nothing saved.
3 free unlocks per month — yours to keep forever
No account needed — nothing is saved.
Included with every copy
- Your own copy — keep it forever
- Gets better over time — free updates included
- Run it on web and mobile
- Invite a partner to go through it with you — you share the same progress
- Make it your own — a private copy you can edit to fit your situation
- The playbook's community — ask questions, get additions, and see how other buyers improve it, right on the step
Who it's for
U.S. homeowners in designated wildfire or hurricane risk zones — especially those who have received a non-renewal warning, a premium spike, or a requirement from their insurer to harden the property. Also suited for homeowners who want to proactively reduce their risk and qualify for mitigation discounts before the next insurance cycle.
About this playbook
This guide walks you through the step-by-step process of hardening your home against wildfire or hurricane damage using the exact standards your insurer credits — IBHS Wildfire Prepared, Fortified Roof, or your state's wind-mitigation discount program. You will assess your property's vulnerabilities, prioritise retrofits by risk reduction per dollar, execute the high-impact work yourself, clear defensible space, and build a photo-and-receipt file that converts your effort into an insurance premium credit or a renewed policy. It covers both ignition-zone (wildfire) and wind-exposure (hurricane) threats, with parallel tracks so you follow the path that matches your risk. This guide does not cover full structural re-engineering, foundation work, or landscape design beyond defensible-space zones.
What you'll do, step by stepFree preview
Only a sample is open: 4 of 23 steps can be read in full. The rest unlock when you buy.
Phase 1: Assess your property against the recognised standard
5 stepsPhase 2: Prioritise retrofits by risk reduction per dollar
4 stepsPhase 3: Retrofit vents, roof edges, gutters, and the roof covering
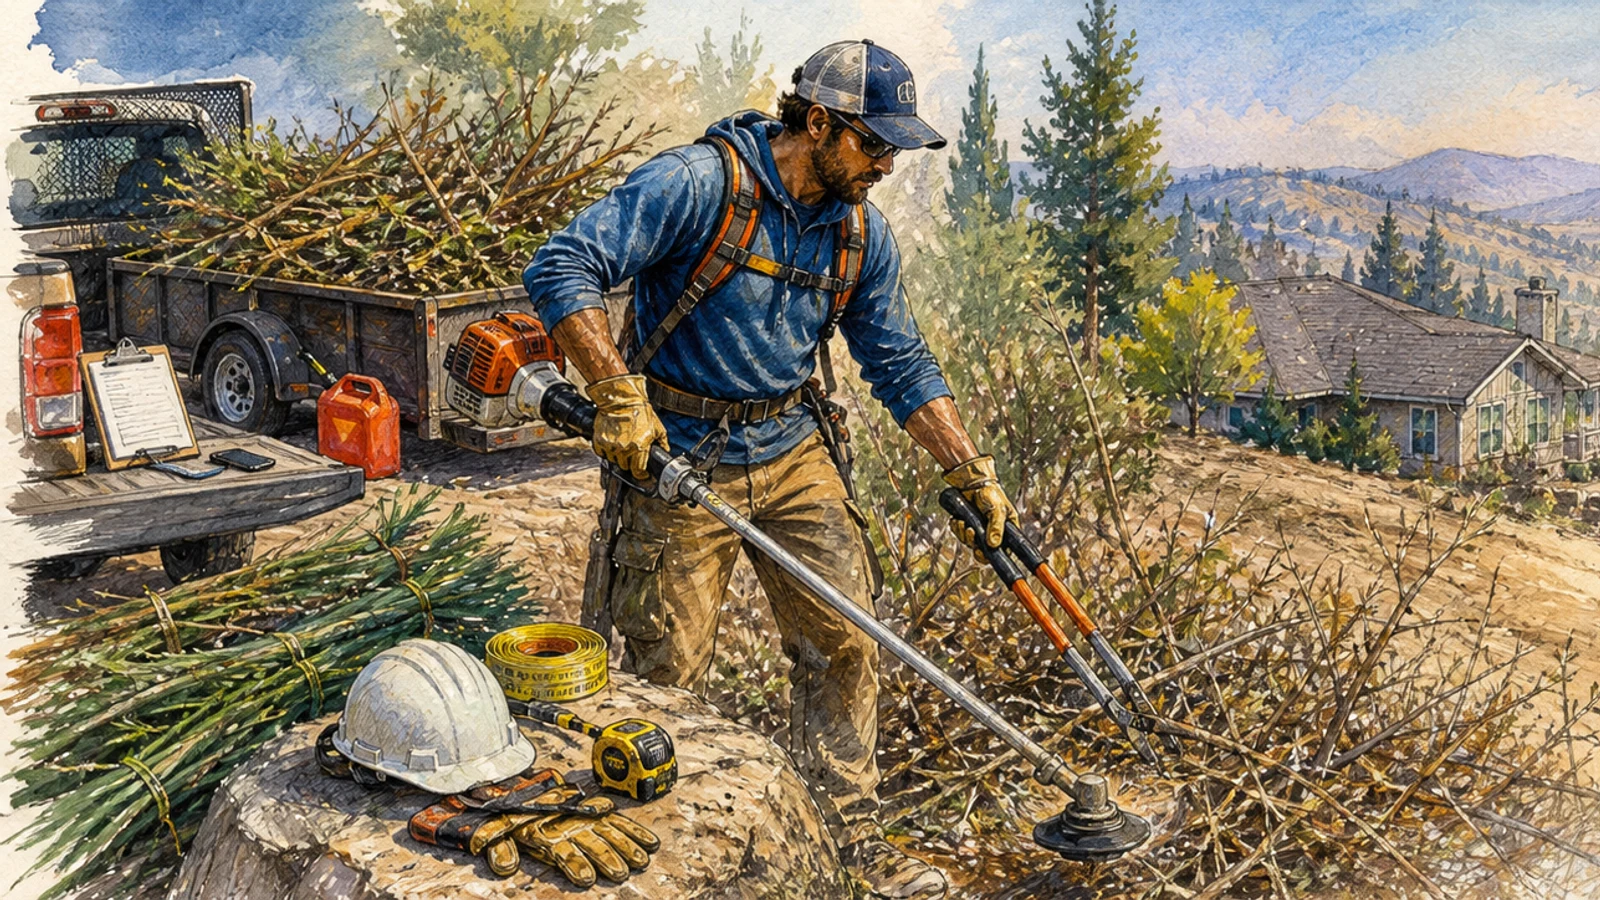
5 stepsPhase 4: Clear defensible space and harden the ignition zone
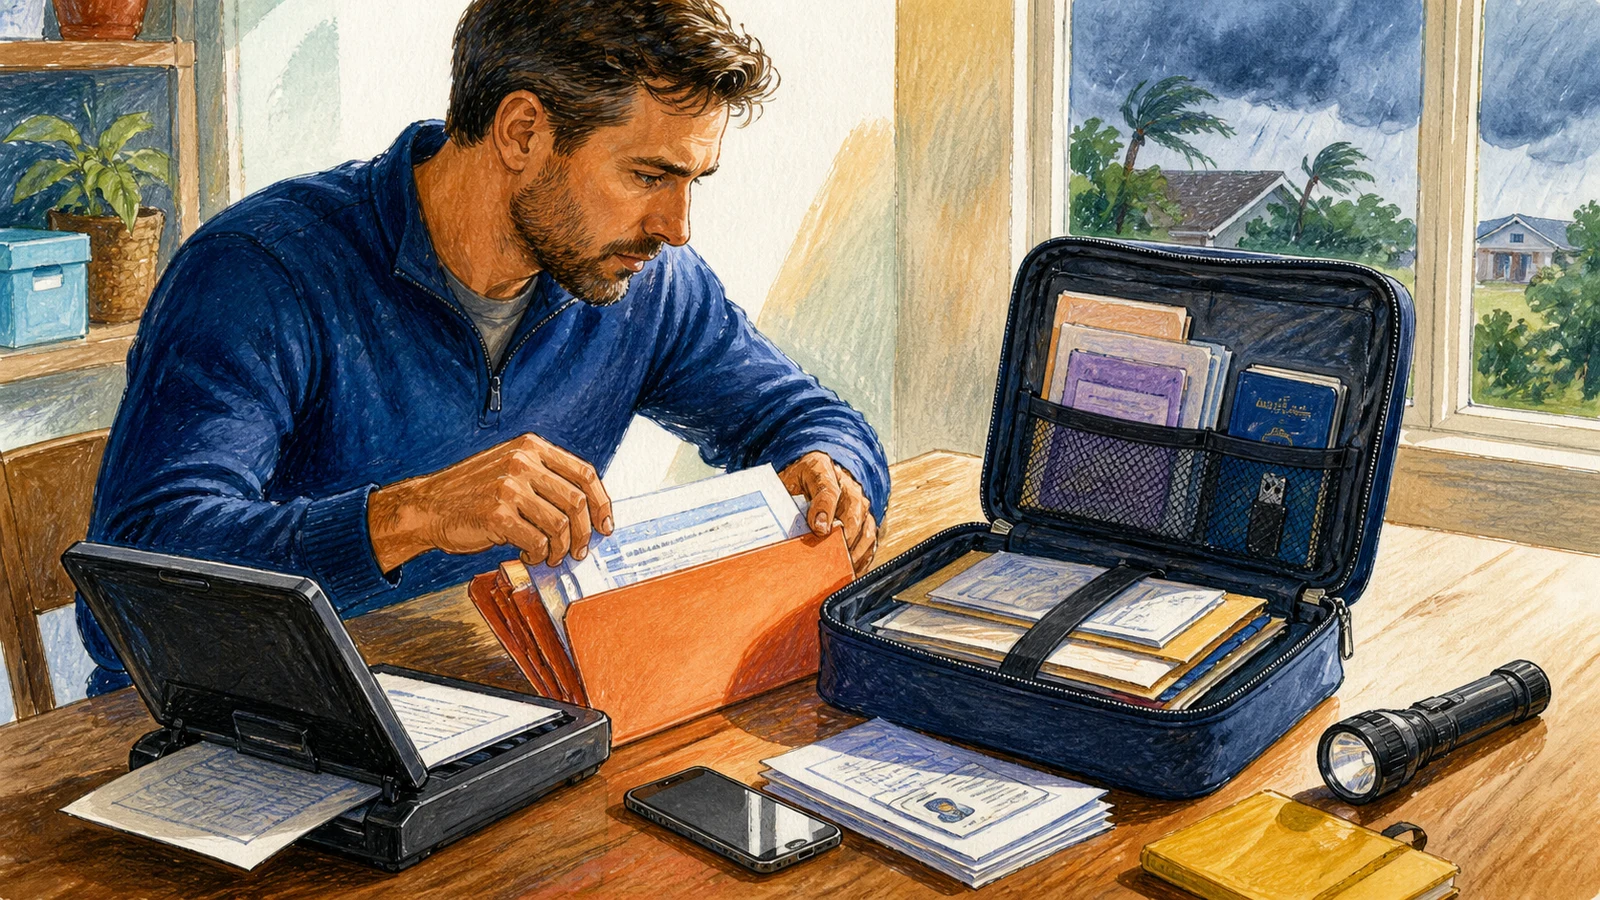
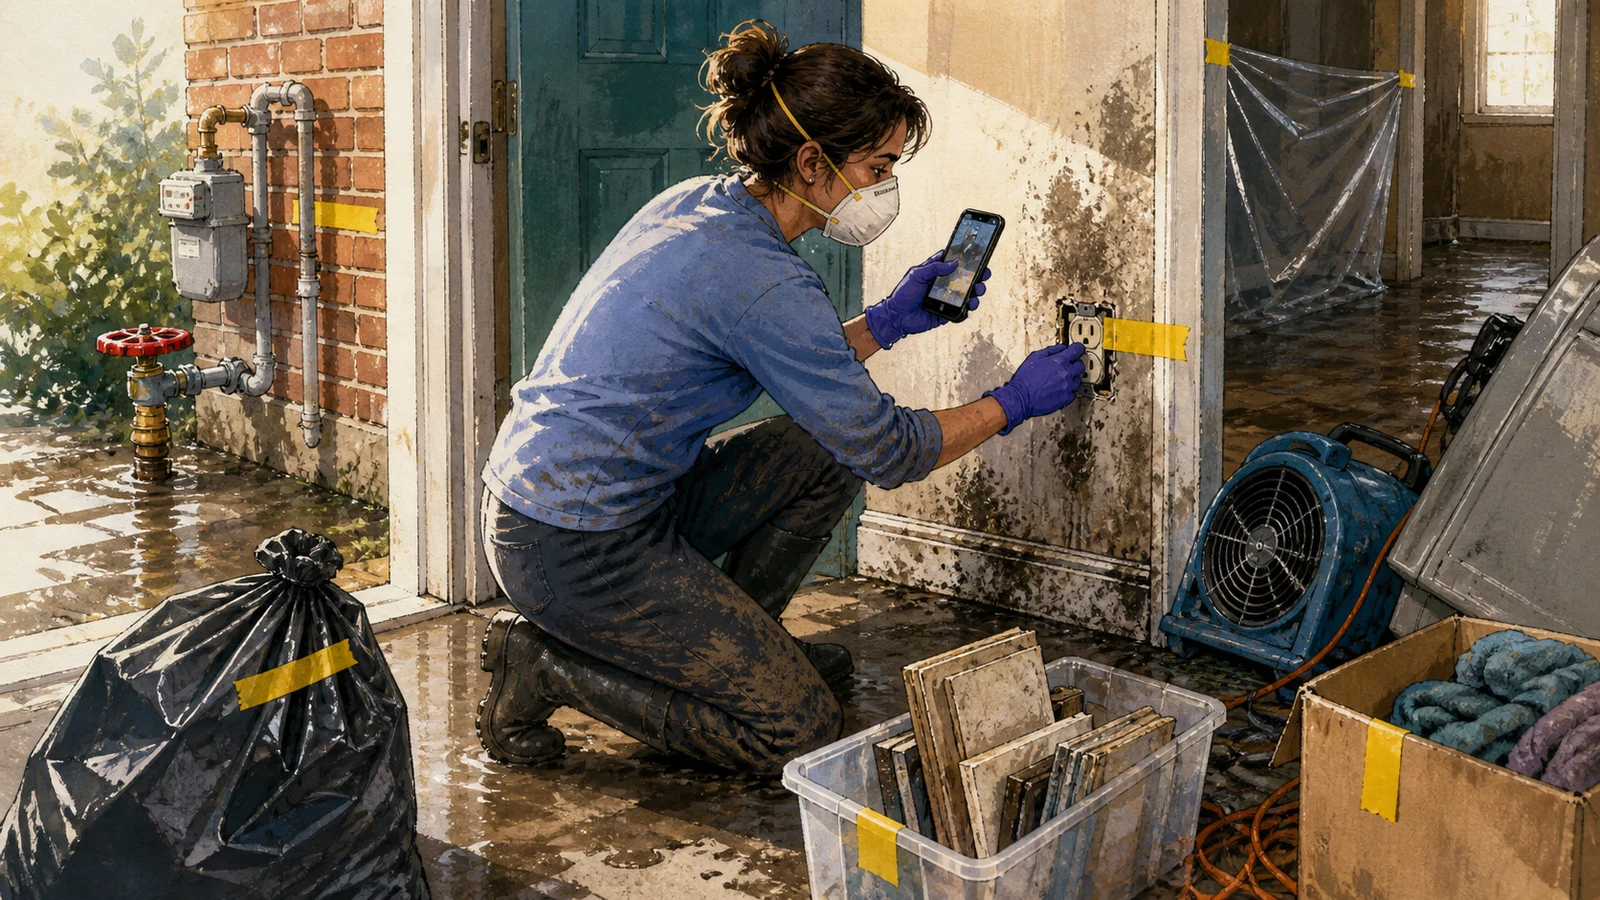
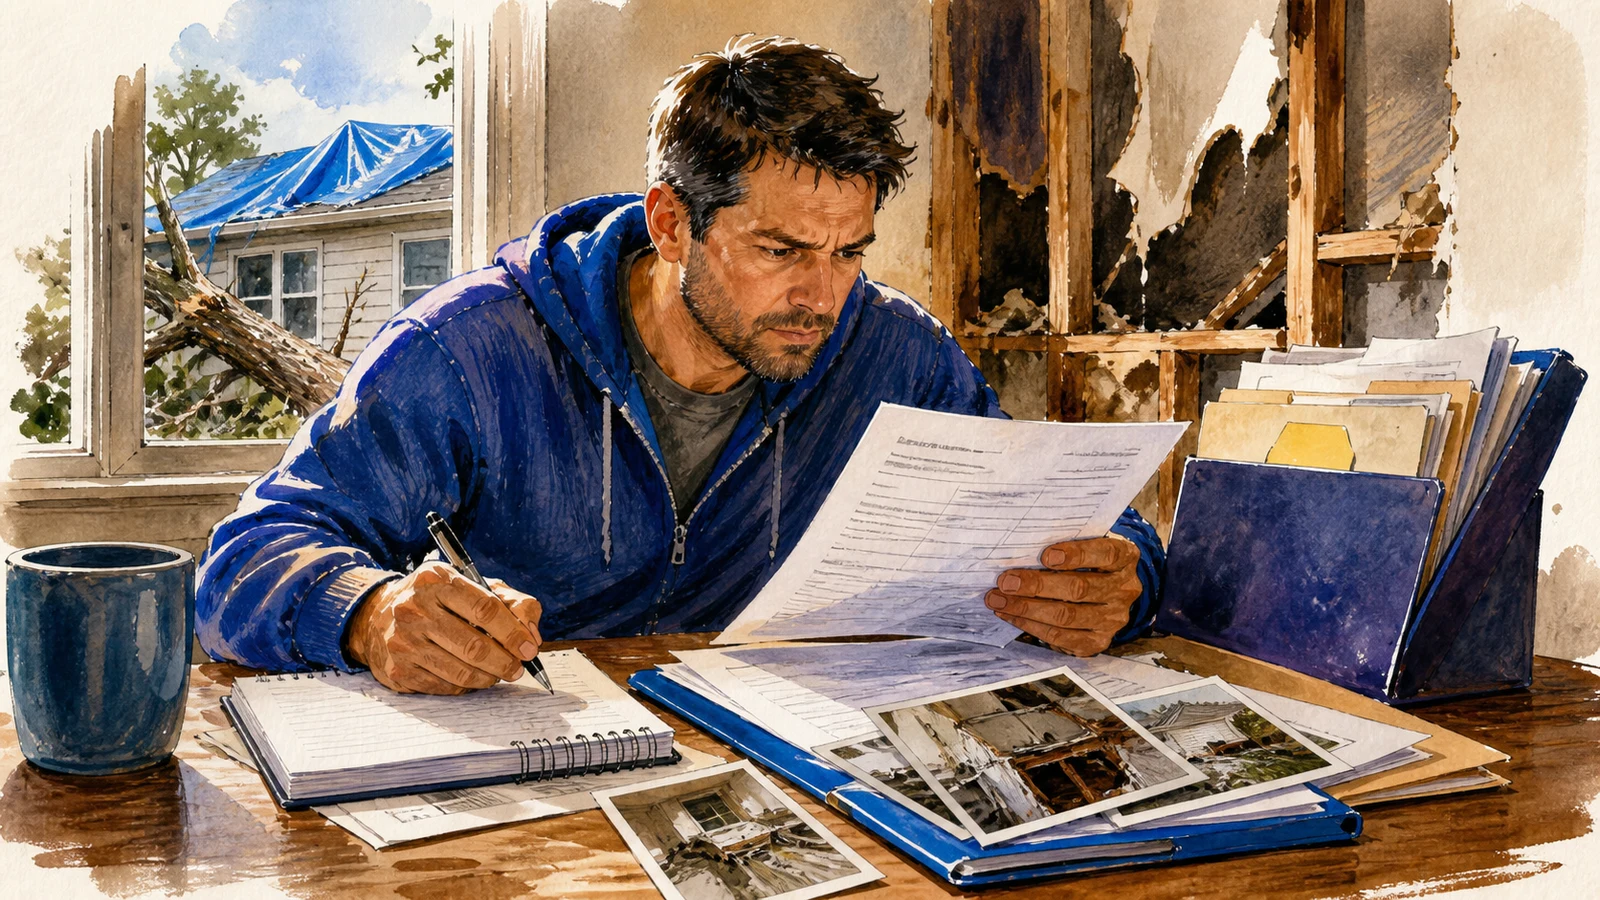
4 stepsPhase 5: Document the work, file for insurance credit, and assemble the emergency binder
5 steps
Details
What you need first
Own your home with clear access to all exterior areas. Have your current insurance policy and any non-renewal or mitigation-request letters at hand. Basic toolkit: measuring tape, ladder, caulk gun, staple gun, pruners, handsaw, work gloves, safety glasses. For DIY retrofits: drill/driver, circular saw, tin snips, and a sturdy extension ladder. Contractor-led steps (roof replacement, window upgrades) assume you source and supervise rather than self-perform.